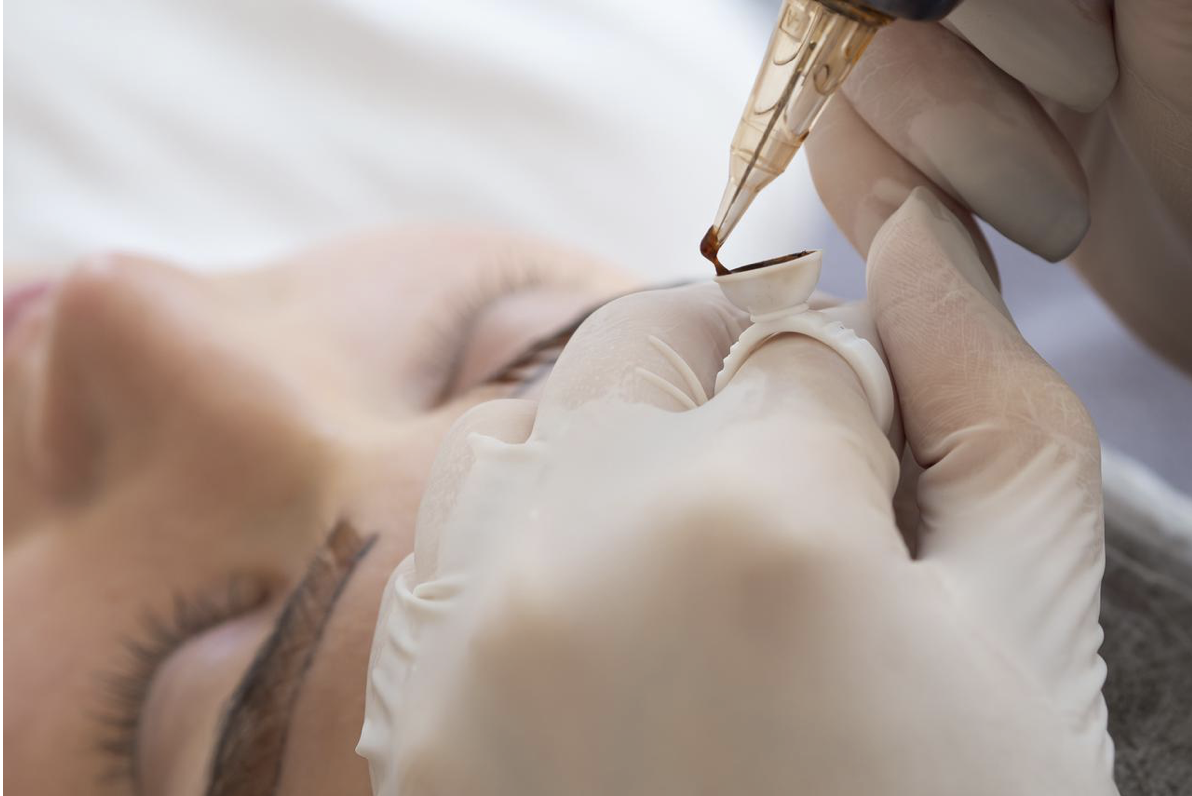
Common Classic Lash Mapping Mistakes and How to Avoid Them
Are you a lash artist struggling with classic lash mapping? Do you find yourself making the same mistakes over and over again, leaving your clients dissatisfied with their lash extensions? Don’t worry; you’re not alone. Many lash artists face this problem, but it’s essential to identify these mistakes and learn how to avoid them. In this article, we’ll discuss common classic lash mapping mistakes and provide tips on how to prevent them. By following our advice, you’ll be able to create beautiful, natural-looking lashes that will keep your clients coming back for more.
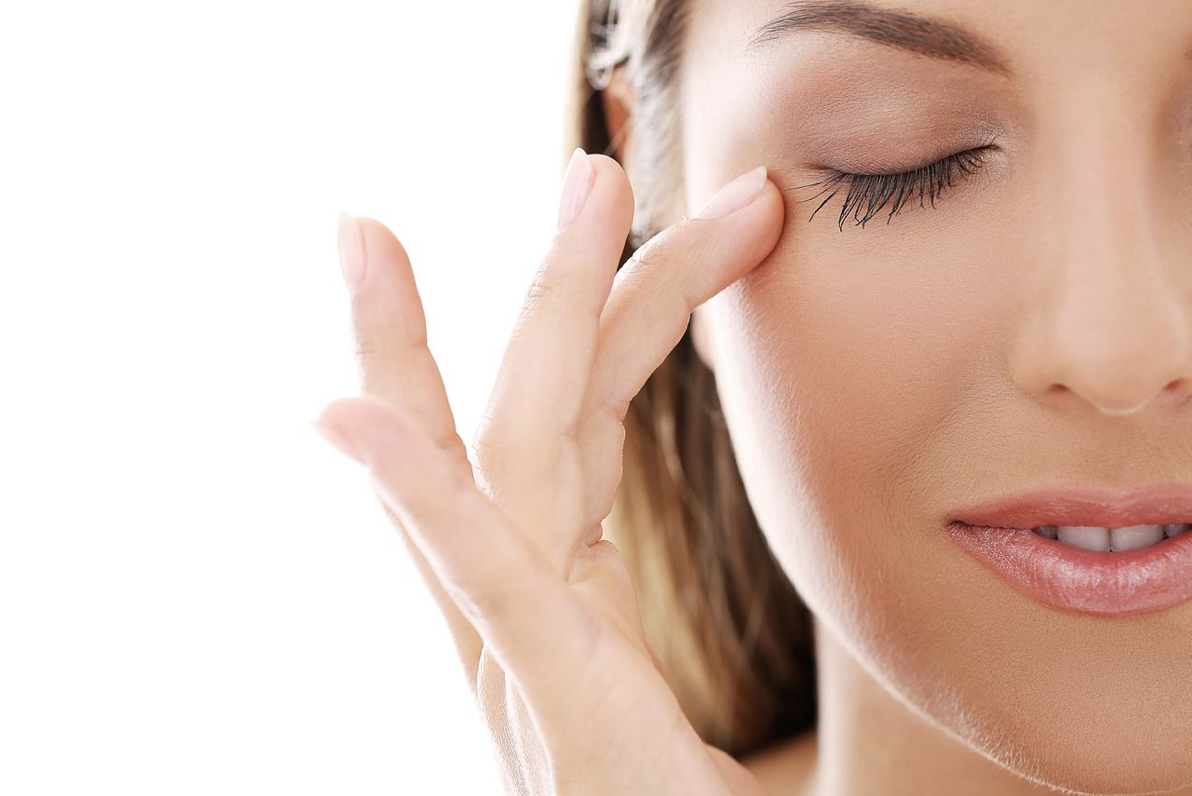
Not Considering Eye Shape when Creating Classic lash mapping
One of the most significant mistakes lash artists make is not considering the client’s eye shape when creating a classic lash mapping. Every person has a unique eye shape, and applying a one-size-fits-all approach won’t work. For example, if someone has deep-set eyes, applying long and voluminous lashes may make their eyes appear even deeper.
- Studying Eye Shape: To avoid this mistake, take the time to study your client’s eye shape before starting the application process. Consider factors such as the distance between the eyes, the size of the eyelid, and the angle of the outer corner of the eye. This information will help you create a customized classic lash mapping that complements their natural features. Remember, every client is unique, and their eye shape should be taken into account when creating a classic lash mapping.
- Customized Lash Map: Creating a customized classic lash mapping is essential to ensure that the lashes enhance the client’s natural beauty. By taking into account their eye shape, you can create a classic lash mapping that accentuates their eyes and makes them appear more open and awake. Don’t make the mistake of applying a one-size-fits-all approach to lash extensions. Take the time to create a customized classic lash mapping for each client.
- Enhancing Natural Features: When creating a classic lash mapping, it’s important to consider the client’s natural features. For example, if someone has small eyes, applying long and voluminous lashes may overwhelm their face. Instead, opt for shorter and more natural-looking lashes that enhance their natural beauty. Remember, the goal of lash extensions is to enhance the client’s natural beauty, not to overpower it.
Not Considering Eye Shape when Creating Classic lash mapping
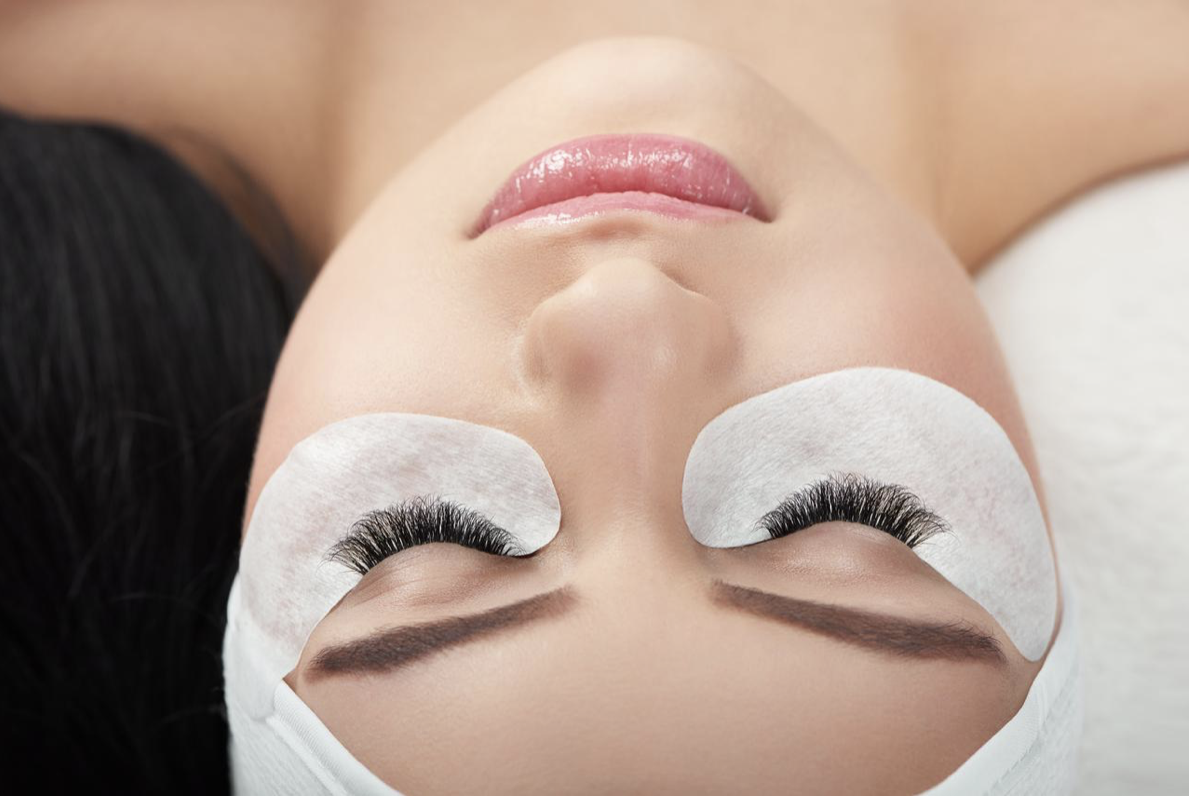
Classic lash mapping is a crucial step in creating a customized lash map that enhances the client’s natural features by taking into account their unique eye shape, size, and angle, resulting in a beautiful and natural-looking finish that complements their overall appearance.
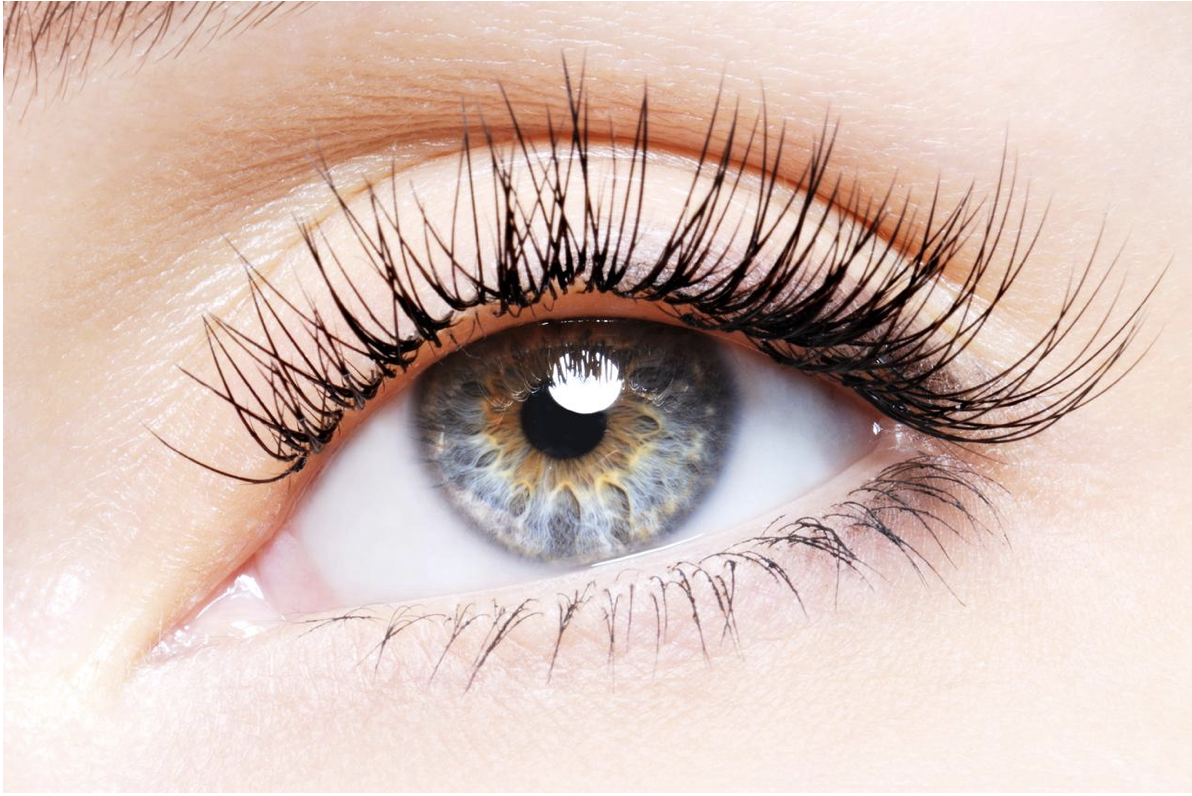
Using the Wrong Curl Type is a big mistake in Classic Lash Mapping
Classic lash mapping or hybrid eyelash mapping styles are fantastic ways to plan the perfect eyelash extension looks for your clients! One of the most common mistakes in lash extensions is using the wrong curl type for the client’s natural lashes. This can cause discomfort and damage to the natural lashes or result in a lackluster look.
- Choosing the Correct Curl Type: It’s essential to choose the correct curl type based on the client’s natural lashes. If they have straight lashes, use a C-curl or D-curl to add volume and lift. If they have naturally curly lashes, use a J-curl or B-curl to enhance their natural curl. Using too much curl can cause discomfort and damage to the natural lashes, while using too little curl can result in a lackluster look and not achieve the optimal effect of classic lash mapping.
- Understanding Curl Types
- C-curl is the most popular curl type, and it creates a natural-looking curl.
- D-curl is more dramatic and creates a more noticeable curl.
- J-curl is the least curly and is perfect for clients with naturally curly lashes.
- B-curl is a more natural-looking curl that is perfect for clients with straight lashes.
Choosing the right curl type can make a significant difference in the final look of the lash extensions. Note to have a great classic lash mapping.
- Consultation is Key: During the consultation, it’s essential to assess the client’s natural lashes and discuss their desired look. This will help you determine the right curl type to use and ensure that the client is happy with the final result.
Using the Wrong Curl Type is a big mistake in Classic Lash Mapping
Classic lash mapping and choosing the right curl type based on the client’s natural lashes are crucial steps in providing beautiful lash extensions that avoid discomfort and damage to their natural lashes while achieving their desired look. A comprehensive consultation with the client is crucial to determining the appropriate curl type, thereby ensuring their satisfaction with the final result.
Not Using Enough Glue while doing Classic Lash Mapping
When applying for lash extensions, it’s important to find the right balance of glue. Using too little can cause premature falling off, while using too much can result in clumping and discomfort for the client.
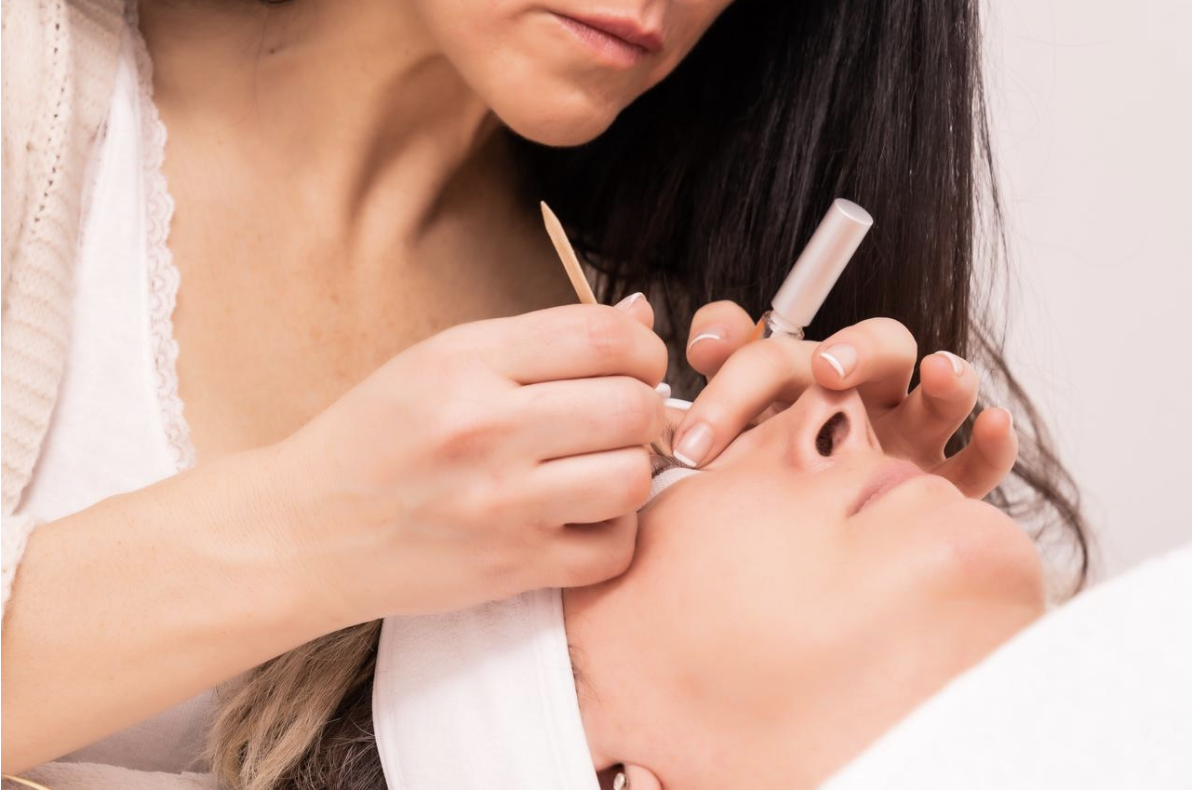
- Start Small and Even: To avoid this mistake while doing classic lash mapping, start by using a small amount of glue and gradually add more as needed. Apply the glue evenly along the lash line, avoiding any gaps or clumps.
- Use the Right Amount: Using the right amount of glue is crucial for the longevity of the lash extensions. Too little glue can cause them to fall off, while too much can cause discomfort and clumping. Remember to find the right balance when applying lash glue to ensure the best results for your client. Not only with classic lash mapping, you need to pay attention to this with mapping cat eye lash extension.
- Apply Evenly: When applying lash glue, make sure to apply it evenly along the lash line. This will prevent any gaps or clumps that can cause discomfort or premature falling off. Using the right amount of glue and applying it evenly will ensure that your client’s lash extensions last as long as possible.
Not Using Enough Glue while doing Classic Lash Mapping
Using classic lash mapping techniques, finding the appropriate amount of glue, and applying it evenly can significantly enhance the longevity and beauty of lash extensions while reducing clumping and discomfort for your clients.
Another Classic Lash Mapping Mistake is Applying Lashes Too Close to the Skin
When applying for lash extensions, it’s important to leave a small gap between the extension and the skin to prevent discomfort and damage to the natural lashes. This gap also allows room for natural lash growth.
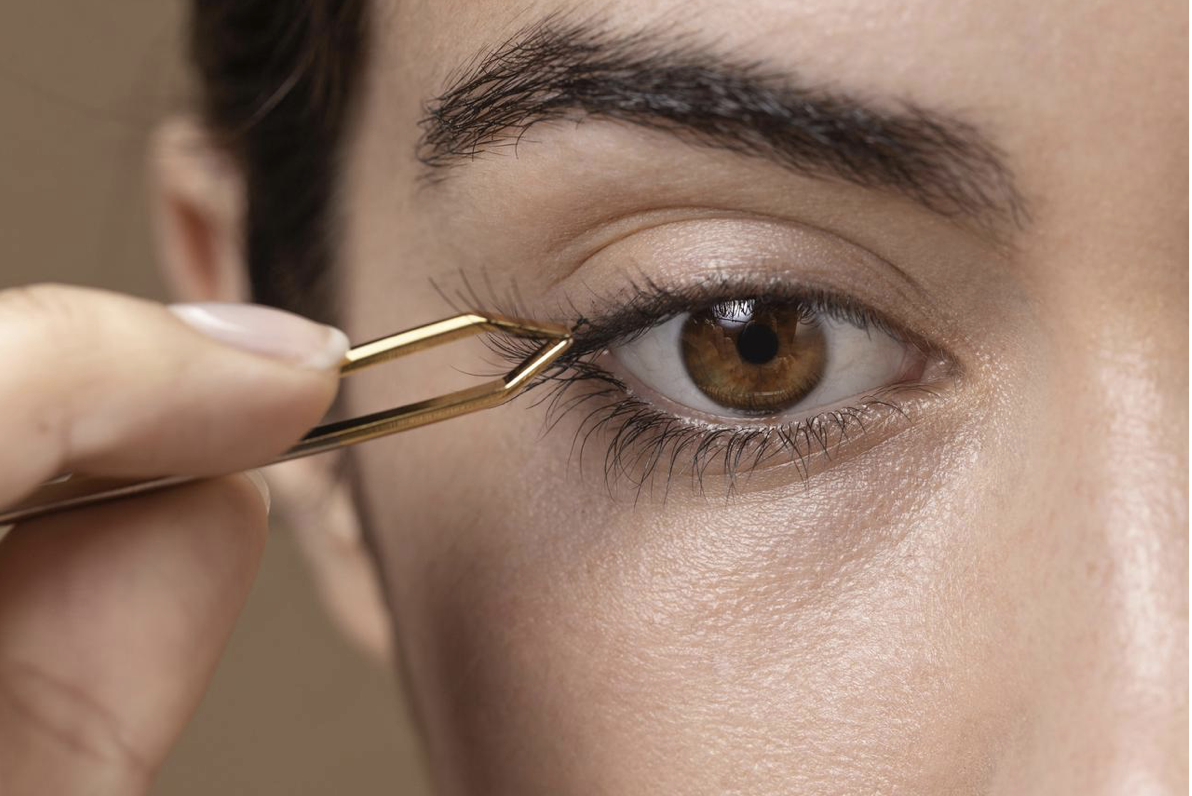
- How to Avoid This Classic lash mapping Mistake: Use tweezers to carefully place each lash extension on top of the natural lash, leaving a small gap between the two. This will ensure that the extensions are secure and comfortable for the client. Did you know that applying lashes too close to the skin can cause irritation and even lead to infection? Always leave a small gap to protect your client’s natural lashes. Make sure that your
- The Importance of Proper Placement: In classic lash mapping, proper placement of lash extensions not only ensures the comfort of the client, but also the longevity of the extensions. When applied correctly, lash extensions can last up to six weeks. Remember, the goal is to enhance the natural lashes, not damage them. The proper placement is key to achieving beautiful, long-lasting results.
Another Classic Lash Mapping Mistake is Applying Lashes Too Close to the Skin
To summarize, using the classic lash mapping technique and proper placement of extensions are crucial steps to prevent discomfort, damage, and even infection to the natural lashes while ensuring beautiful, long-lasting results for your clients. Always leave a small gap between the extension and the skin to protect natural lashes and achieve a comfortable and secure fit.
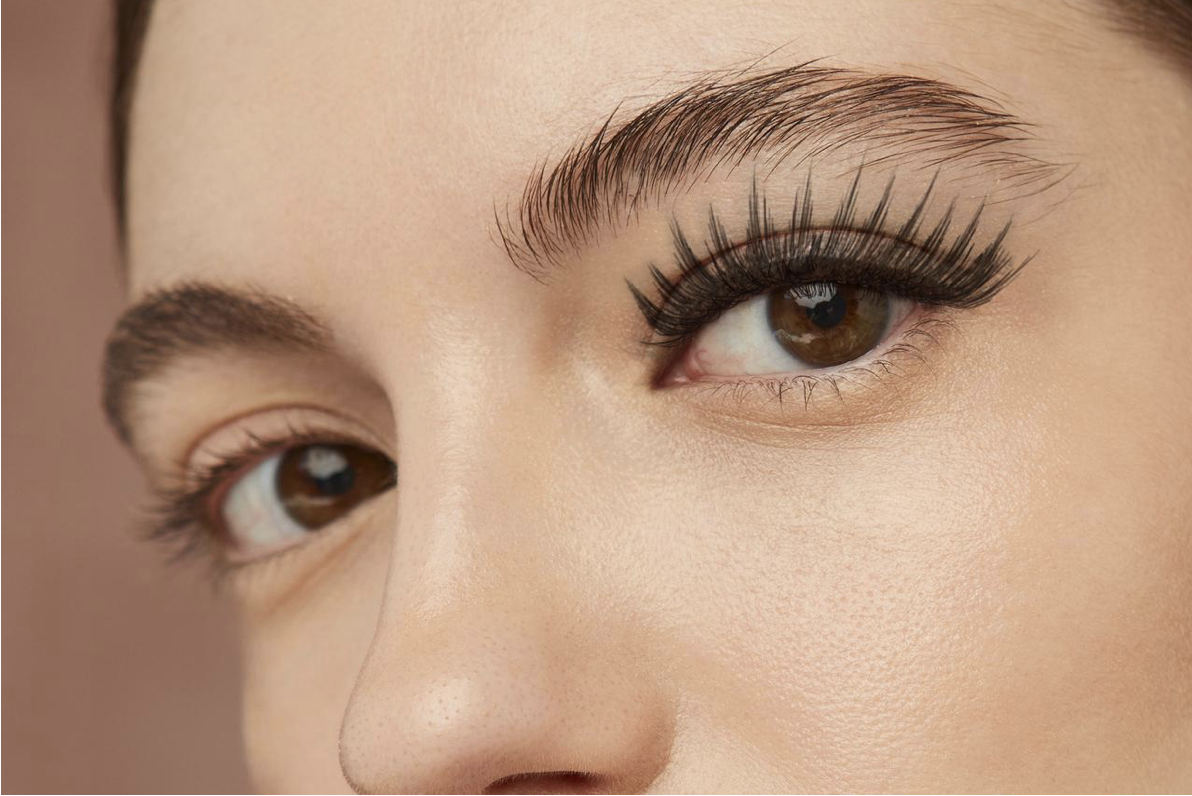
Creating an Unbalanced Look with the wrong Classic lash mapping
One common classic lash mapping mistake that lash artists make is creating an unbalanced look. This happens when one eye has significantly longer or thicker lashes than the other, resulting in an uneven appearance.
- How to Avoid This Mistake: To avoid this mistake, take the time to measure each eye and create a balanced classic lash mapping. Use a ruler or measuring tape to ensure that each lash extension is applied at the same length and thickness on both eyes. Remember, symmetry is key when it comes to lash extensions. Taking the extra time to measure and map out each eye will result in a more natural and balanced look.
- Other Tips to Achieve Balance: Another tip to achieve balance is to use different lengths and thicknesses of lash extensions on different parts of the eye. For example, using shorter and thinner lashes on the inner corner and gradually increasing the length and thickness towards the outer corner can create a more natural and balanced look. It’s important to also consider the client’s natural lash length and thickness when creating the classic lash mapping. Matching the extensions to the client’s natural lashes can help achieve a more balanced and cohesive look.
Creating an Unbalanced Look with the wrong Classic lash mapping
Creating a balanced and symmetrical classic lash mapping is essential to avoiding an unbalanced look when applying lash extensions. Taking the time to measure each eye and considering the client’s natural lash length and thickness, while strategically using different lengths and thicknesses of lashes, can create a more natural and cohesive look.
Not Considering Lifestyle when Creating the Classic lash mapping
Many lash artists make the mistake of not considering their client’s lifestyles. For instance, regular exercise may require shorter lashes to prevent discomfort during physical activity.
- Ask About Daily Routine: To avoid this mistake, ask your clients about their daily routine. This will help you create a classic lash mapping that considers their lifestyle.
- Choose Appropriate Length and Thickness: When creating the classic lash mapping, considering your client’s lifestyle will help you choose the appropriate length and thickness for their lashes. This will ensure that they are comfortable and satisfied with their lashes. Remember, every client is unique and their lifestyle should be taken into account when creating their lash look.
Not Considering Lifestyle when Creating the Classic lash mapping
Considering your client’s lifestyle is an important factor when creating a classic lash mapping and choosing the appropriate length and thickness of lashes, ensuring that their lashes are comfortable and suitable for their daily routine. Asking about their daily routine beforehand will help you provide a lash look that meets their needs and expectations.
Applying Too Many Lashes while Using Classic lash mapping techniques
When applying for lash extensions, it’s important to find the right balance between volume and comfort. Applying too many lashes can cause discomfort and damage to the natural lashes.
- How to Avoid This Classic lash mapping Mistake: To avoid this classic lash mapping mistake, use a maximum of two or three lash extensions per natural lash. This will provide enough volume without causing discomfort or damage. Did you know that applying too many lashes can cause permanent damage to your natural lashes? It’s important to find a skilled lash technician who knows how to properly apply lash extensions.
- What to Look for in a Lash Technician: When choosing a classic lash mapping technician, look for someone who is experienced and certified. They should also use high-quality products and have a good reputation in the industry. Using too many lash extensions can also cause your natural lashes to become weak and brittle. It’s important to take breaks between lash appointments to allow your natural lashes to recover.
- Taking Care of Your Lash Extensions: Incorporating classic lash mapping when taking care of your lash extensions encompasses understanding the importance of proper aftercare techniques. To keep your lash extensions looking their best, avoid rubbing your eyes or using oil-based products on your lashes. Use a lash brush to keep them looking neat and tidy, and avoid sleeping on your stomach to prevent them from getting crushed.
Applying Too Many Lashes while Using Classic lash mapping techniques
Finding the right balance between volume and comfort is crucial when applying lash extensions, with a maximum of two or three lash extensions per natural lash, in line with classic lash mapping techniques, to avoid damage and discomfort. Choosing a skilled lash technician, avoiding oil-based products, and taking care of your lashes can help maintain their appearance and health.
Not Using Enough Variety for Classic lash mapping
When it comes to lash extensions, not using enough variety in lash lengths and thicknesses can result in a lackluster look. To create a customized classic lash mapping, natural-looking lash map, it’s essential to mix and match different lash sizes and styles.
- Experiment with Different Lash Lengths and Thicknesses: To avoid this classic lash mapping mistake, experiment with different lash lengths and thicknesses until you find the perfect combination for each client. This will help you achieve a more natural and voluminous look that complements their eye shape and enhances their natural beauty. Using the same lash length and thickness on every client can result in a cookie-cutter look that doesn’t flatter anyone.
- Consider Your Client’s Eye Shape: In classic lash mapping, when selecting lash lengths and thicknesses, consider your client’s eye shape. For example, if they have round eyes, longer lashes in the center can help elongate their eyes. If they have almond-shaped eyes, longer lashes on the outer corners can create a more dramatic look. Customizing lash extensions to your client’s eye shape can help enhance their natural beauty and create a more flattering look.
- Don’t Be Afraid to Mix and Match: Don’t be afraid to mix and match different lash lengths and thicknesses to create a unique classic lash mapping and customized look for each client. You can also experiment with different styles, such as wispy or dramatic, to achieve the desired effect. Mixing and matching lash lengths and thicknesses can help you create a more natural and voluminous look that complements your client’s features.
Not Using Enough Variety for Classic lash mapping
Not using enough variety in classic lash mapping by not experimenting with different lash lengths and thicknesses can result in a cookie-cutter, lackluster look that doesn’t flatter any client, instead tailoring the sequenced lengths and styles for each individual’s eye shape and features will achieve a natural and voluminous look, highlighting the importance of customization and not being afraid to mix and match different styles.
Rushing the Application Process may affect Classic lash mapping
Rushing the application process is another common mistake that lash artists make. Taking the time to properly apply each lash extension is crucial for creating a beautiful, long-lasting look.
- Take Your Time: To avoid this classic lash mapping mistake, take your time during the application process. Use steady hands and focus on applying for each lash extension precisely and evenly. Remember, quality over quantity is key when it comes to lash extensions.
- Proper Application: In classic lash mapping, proper application is also important for the health of your client’s natural lashes. Applying too much adhesive or placing extensions too close to the lash line can cause damage and discomfort. Make sure to use the appropriate amount of adhesive and leave enough space between the extension and the lash line.
- Aftercare: In classic lash mapping, aftercare is just as important as the application process. Educate your clients on how to properly care for their lash extensions to ensure they last as long as possible. Provide your clients with aftercare instructions and recommend lash-safe products for them to use.
Rushing the Application Process may affect Classic lash mapping
Taking your time during the application process, using proper application techniques, and educating clients on proper aftercare are important pillars for achieving a beautiful and long-lasting look with classic lash mapping, emphasizing the significance of quality over quantity, using the appropriate amount of adhesive, and aftercare instructions.
Failing to Educate Clients on Aftercare is also a Common Classic Lash Mapping Mistake
Failing to educate clients on aftercare is another mistake that many lash artists make. Proper aftercare is essential for maintaining the longevity and appearance of lash extensions.
- Educate Your Clients: To avoid this classic lash mapping mistake, take the time to educate your clients on proper aftercare techniques. Provide them with written instructions and answer any questions they may have about caring for their lashes.
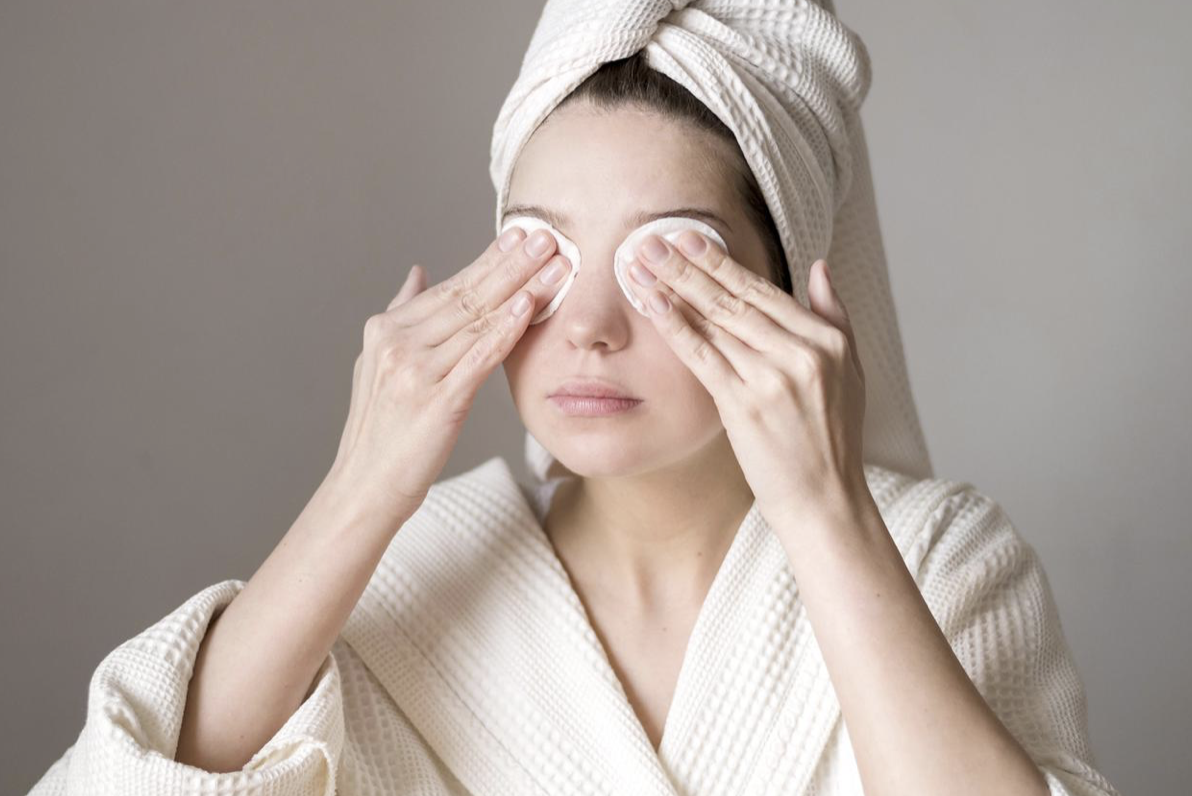
- Proper Aftercare: Understanding classic lash mapping is crucial when advising clients on proper aftercare techniques. Proper aftercare includes avoiding water, steam, and oil-based products for the first 24-48 hours after application. Clients should also avoid rubbing or pulling on their lashes and use a gentle, oil-free cleanser to remove makeup. Did you know that using oil-based products can break down the adhesive used to attach the lashes?
- Written Instructions: Provide your clients with written instructions that they can refer to at home.
Include information on how to clean their lashes, what products to avoid, and how often to come in for touch-ups.
- Use a gentle, oil-free cleanser to remove makeup
- Avoid rubbing or pulling on lashes
- Avoid water, steam, and oil-based products for the first 24-48 hours
Remember, proper aftercare is essential for maintaining the longevity and appearance of lash extensions.
Failing to Educate Clients on Aftercare is also a Common Classic Lash Mapping Mistake
Failing to educate clients on aftercare is a classic lash mapping mistake. It can impact the longevity and appearance of lash extensions, emphasizing the importance of providing written instructions, answering clients’ questions, and including information on proper aftercare, such as avoiding oil-based products and gently cleaning lashes.
Conclusion
Creating a beautiful, natural-looking lash map requires attention to detail and careful consideration of the client’s unique features. By avoiding these common classic lash mapping mistakes pointed out by Vinlash supplier, you’ll be able to create stunning lash extensions that will keep your clients coming back for more. Remember to take the time to study your client’s eye shape, choose the correct curl type, use the right amount of glue, and apply lashes at the appropriate distance from the skin. Consider their lifestyle, create a balanced look, use variety in lash lengths and thicknesses, and take your time during the application process. Finally, educate your clients on proper aftercare techniques to ensure that their lashes stay beautiful and healthy for as long as possible.